30% off today$16.95 $11.86·ends tonight
☰✕
Documents
US passport photo2×2 inUSCIS photoGreen card photoUS visa photoDigital photoonline renewalBaby passport photoRequirements
US passport photo requirementsPhoto examples that passFree photo checkerSize & dimensionsBackground rulesGlassesGuides
All passport & visa guidesHow long it actually takes to get a passportRenewing your passport by mail, step by stepApplying for your first passportExpedited passports, honestly explainedWhat a passport actually costsHow it works
How we verifyPricing$11.86Where to get oneMoney-back guaranteePassport Photo With an iPhone
Short answer
Use the rear camera at about six feet, not the front-facing one at arm's length. Face a window on an overcast day, turn off the flash and Live Photo, and use the timer or the volume button on headphones as a shutter release.
 ✓
✓ ✕
✕Illustrative examples — the people shown are AI-generated.
Use the rear camera, not the selfie camera
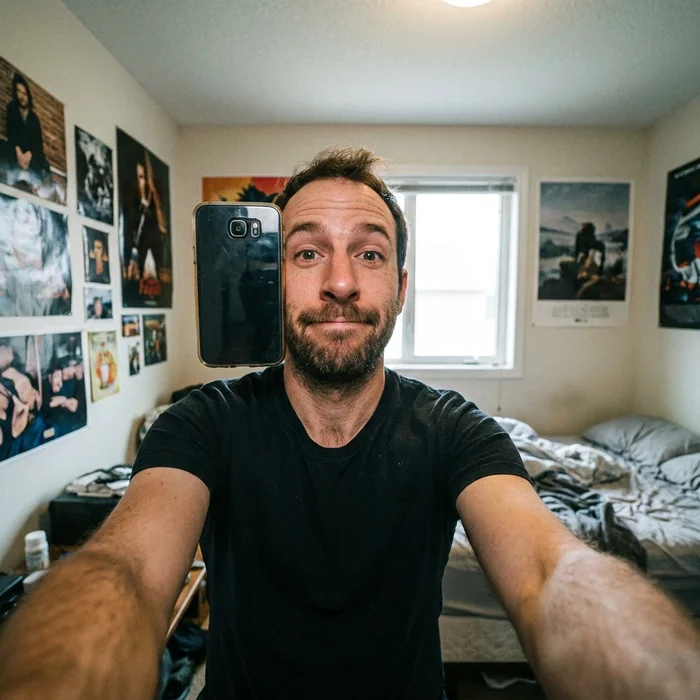
The front-facing camera on every iPhone is lower resolution than the rear one, and iOS mirrors its preview by default — so what you see is not what you get. More importantly, the way people use it, at arm's length, is exactly the distortion the passport rules exist to prevent.
The rear camera at six feet gives you natural facial proportions and considerably more detail, which matters because the finished photo needs to survive being cropped to a square and reproduced at 1200 pixels.
The practical method: hand the phone to someone, or prop it against something at eye height and use the timer. The volume buttons on wired or Bluetooth headphones work as a shutter release, which is easier than sprinting back and forth.
Settings that matter
Turn the flash off. On-camera flash causes red-eye and throws a hard-edged shadow onto the wall behind you, and both are rejection reasons.
Turn Live Photo off. It is harmless in itself, but a Live Photo exported to the wrong format or with the wrong key frame chosen causes avoidable confusion when you come to upload.
Leave Portrait mode off. The artificial background blur it applies is a form of editing, and a synthetically blurred background is not the plain background the specification asks for.
HDR and Smart HDR can stay on — they help with even exposure across the face and do not count as editing in the sense the rules mean.
Framing and what happens afterwards
Do not attempt to frame it as a passport photo. Take an ordinary head-and-shoulders shot with space around you, standing a couple of feet in front of a plain light wall, facing a window.
Leaving room around yourself matters, because the crop to a 2 × 2 inch square with the head at a precise size needs material to work with. A tightly framed shot leaves nothing to crop and forces an upscale.
Our processing then does the geometry: it separates you from the background, places the head at the correct measured size and the eyes in the required band, and outputs 1200 × 1200 pixels. You do not need to measure anything yourself — but the photo you feed it should be sharp, evenly lit and taken from a proper distance, because none of that can be added later.
Check your photo against this rule — free
Upload a photo and read the full report on all eleven requirements before paying anything.
Check my photoFrequently asked
Can I take a passport photo with my iPhone?+
Yes. Use the rear camera from about six feet, not the front camera at arm's length.
Should I use Portrait mode?+
No. The artificial background blur counts as editing and is not a plain background.
Should I turn off Live Photo?+
Yes, it avoids confusion when exporting. Turn the flash off too.
Is the selfie camera good enough?+
It is lower resolution and mirrors the preview, and the arm's-length distance it invites is the exact distortion the rules prohibit.
How do I take it alone?+
Prop the phone at eye height about six feet away and use the timer, or the volume button on headphones as a remote.
Does the same apply to Android?+
Yes, in full. Rear camera, no flash, no portrait mode, six feet, even light.